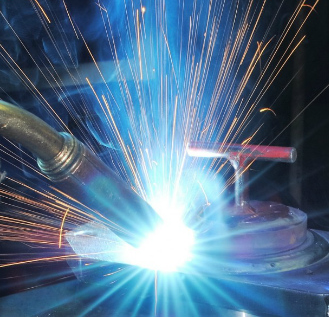
Before you lay your first weld, it’s important to become familiar with the machine’s settings. Proper voltage, wire speed, wire size, and gas are among the first components to get right. Once you find the right balance, you’ll be on your way to producing quality welds.
Questions to examine:
- What gas do I use? Depending on the material (e.g. steel, stainless steel, aluminum) and application, your shielding gas mixture will differ. Steel most commonly uses a blend of 75% Argon and 25% CO2 to protect the molten metal from contamination with other gases in the air (Oxygen, Carbon dioxide, Nitrogen), which produces a smoother weld. Aluminum would use %100 Argon because of its different chemical makeup.
- What size wire? Using the correct wire is essential to ensure enough filler metal comes in contact with the work area. Choosing an appropriate wire ensures efficiency on time and production. Wire size depends on the thickness of the metal. Considering a 1/8-inch piece of metal for example, we could use a .035 diameter wire to achieve our desired weld.
- What amperage do I need? The thickness of the material will determine your amperage. Going back to our 1/8-inch piece of metal, it would require around 125 amps to weld. Not all welding machines have an amperage knob. However, changing the wire speed, will also change the amperage. As wire speed increases, so does the current. The formula for this is 1 AMP for every one one-thousandths of an inch of material thickness:
1/8’= 0.125= 125 AMPS.
Now that you have your amps, you need to convert that to wire speed. To do this we multiply our amps by the wire’s burn rate. In this case for the .035 wire, we will multiply our amps by 1.6.
125X1.6= 200
So, our wire speed needs to be set at 200. Running your machine too hot can result in blowout or burning through the metal. Running it too cold can result in a defective weld that won’t hold.
PPE ( Personal Protective Equipment)
It’s also handy to have a checklist of protective equipment and tools that you will need before you start:
- Gloves
- Welding Jacket
- Helmet with shade 10-13 (more amperage, darker the shade)
- Safety glasses
- Wire Brush
- Grinding Wheel
Once you start to weld, you’ll be able to tell from the sound of the arc if your settings are about right. A smooth-running weld will sound like bacon sizzling in a pan. You will become familiar with this sound—listen for it, and adjust your settings as needed. Now you’re ready to start welding!


